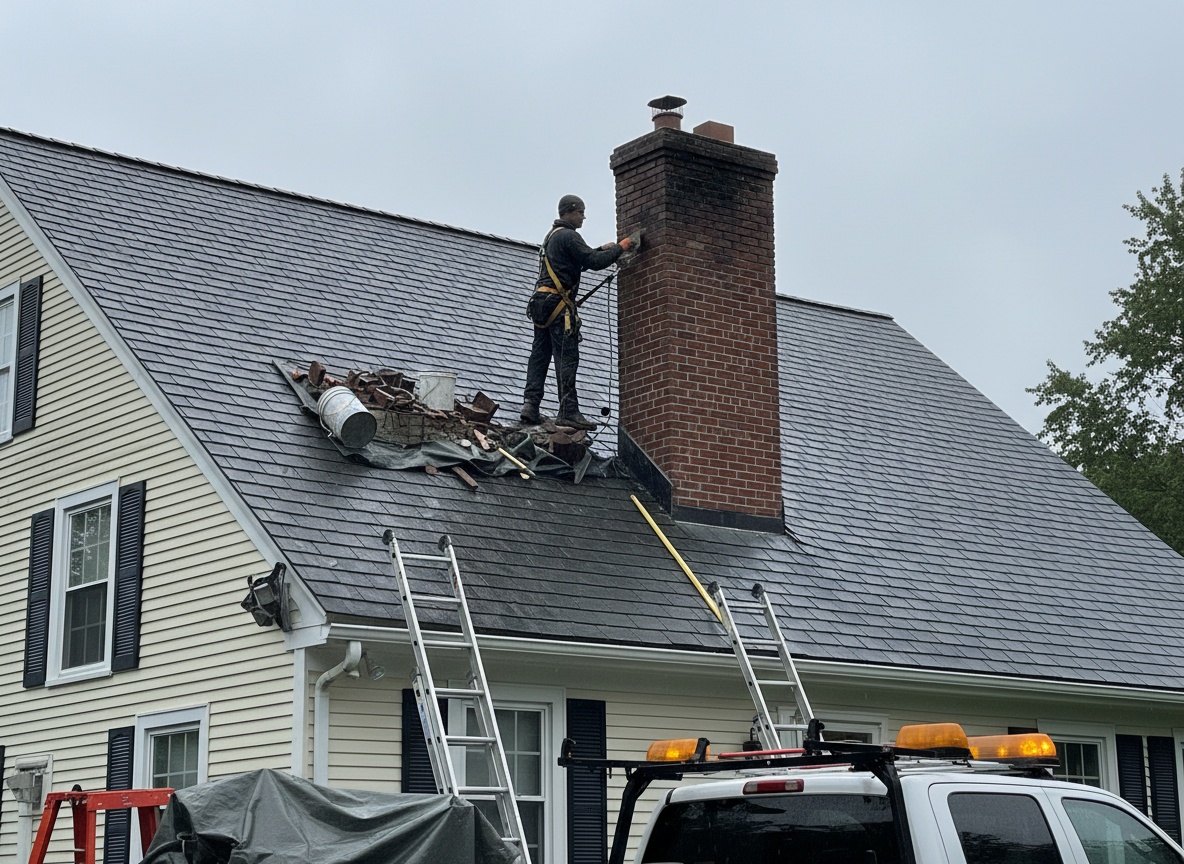
Parsippany-Troy Hills sits in Morris County where split-level and ranch homes built from the 1960s onward often feature masonry chimneys tied into the original rooflines. Winter freeze-thaw cycles combined with nor'easter winds repeatedly stress the mortar joints and flue liners, especially on homes near the Whippany River floodplain where soil movement adds lateral pressure. When a flue liner cracks or crown masonry shifts, carbon monoxide pathways open inside living spaces within hours.
Emergency calls here usually arrive after heavy snow loads or high winds dislodge crown bricks or collapse the flue tile. Technicians must first confirm active draft before any interior work, then secure the roof edge against further ice movement. Older clay liners common in these neighborhoods fracture differently than modern stainless inserts, requiring immediate temporary capping to prevent water entry into the attic before a full replacement can be scheduled.
Code compliance in Morris County requires that any emergency repair restoring draft must still meet current IRC chimney height and clearance rules even when done under time pressure. Homeowners in the Lake Hiawatha and Mount Tabor sections frequently discover that previous DIY patches have trapped moisture behind the brick, accelerating spalling once temperatures swing again.
Technician insight
In Parsippany-Troy Hills, the thing that catches most people out with emergency chimney repair is how quickly freeze-thaw cycles along the Whippany River corridor loosen mortar in 1960s-era brick chimneys; homeowners often assume a missing brick is cosmetic until wind-driven rain reaches the attic insulation.
Wind-dislodged crown on Mount Tabor split-level
High winds from a nor'easter knocked several crown bricks loose on a 1972 split-level near Mount Tabor. Inspection showed the flue liner had shifted and water was already entering the attic. Temporary bracing and a weatherproof cap were installed the same afternoon to halt further intrusion until a full liner replacement could be scheduled.
How it works
- 1
Initial Safety Assessment
Arrive on site, confirm no active fire or gas hazard, and verify carbon monoxide levels inside the home before any hands-on work begins.
- 2
Exterior Inspection
Climb to roof level using proper tie-off points, check crown, flue, and flashing condition, and note any immediate water intrusion paths.
- 3
Temporary Stabilization
Install weatherproof cap or bracing to stop further damage from rain or snow while permanent repair is arranged.
- 4
Documentation and Quote
Photograph all defects, explain findings to the homeowner, and provide a written scope with timeline for full restoration.
Pricing
Upfront quotes provided after inspection; cost driven by roof access, extent of liner or crown damage, and whether temporary bracing is required.