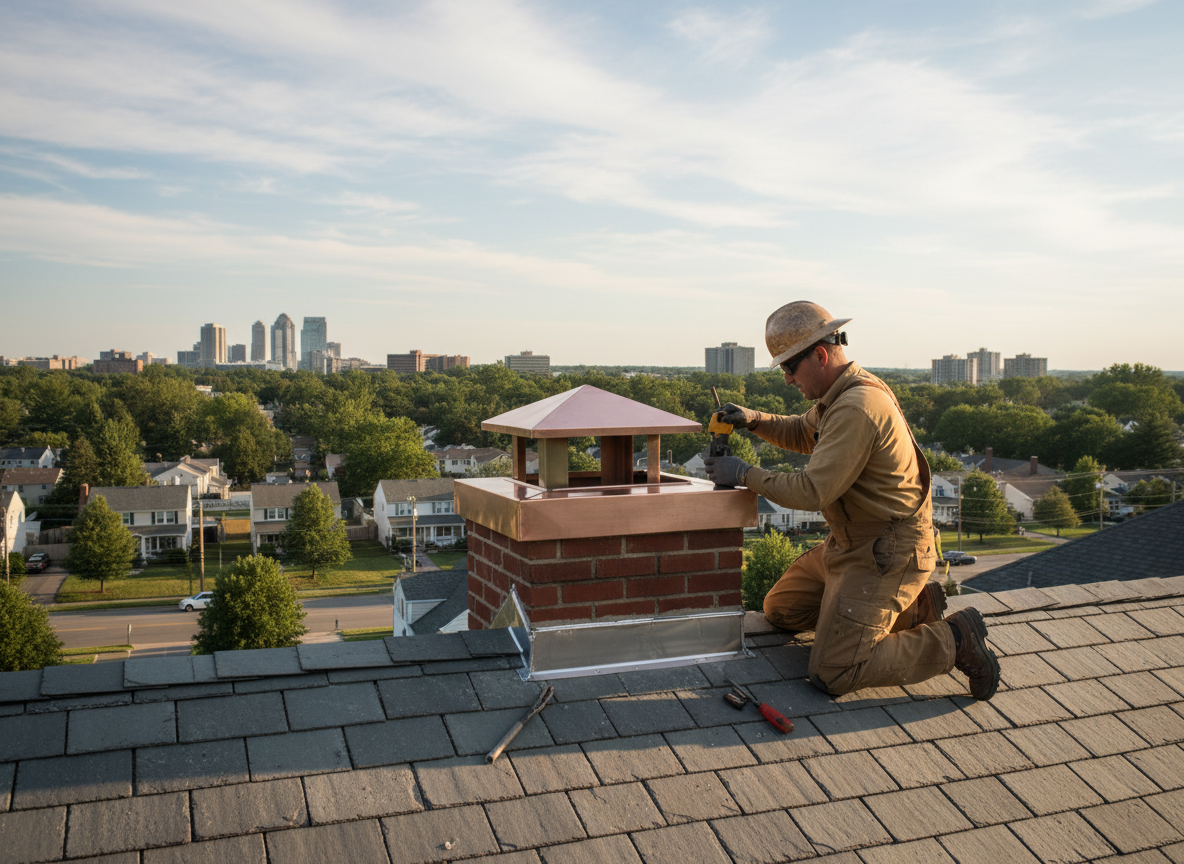
Chimney caps in Parsippany-Troy Hills take constant abuse from Morris County winters where freeze-thaw cycles expand moisture trapped in masonry or metal seams. Older brick chimneys common in neighborhoods like Lake Hiawatha and Mount Tabor often show rusted or missing crown flashing that lets water run down the flue and damage liners. A proper repair starts with checking the cap anchor points and the condition of the flue tile or metal liner before any new cap is installed.
Homeowners sometimes replace only the visible cap while leaving deteriorated flashing or cracked crown mortar in place. In the Parsippany-Troy Hills area this leads to repeated leaks after the first heavy snow melt. Edge cases include caps on homes near Route 46 where road salt accelerates corrosion and caps on two-story structures where ladder access requires extra staging on sloped yards.
Code considerations in Morris County require that any new cap maintain proper spark arrestor mesh and clearance from combustible roofing. When working on homes built before 1970, technicians routinely find original terra-cotta flue tiles that have shifted, requiring the cap base to be realigned before final attachment.
Seasonal Considerations
Winter storms and spring thaw create the highest demand for chimney cap repair in Parsippany-Troy Hills. Summer inspections catch early rust before it spreads through the entire crown assembly.
Technician insight
In Parsippany-Troy Hills, the thing that catches most people out with chimney cap repair is the way older brick chimneys in Lake Hiawatha shift slightly each winter, loosening the original anchor bolts so a new cap never seats properly without first resetting the crown mortar.
Cap Failure on Two-Story Home Near Waterview
Problem: water staining on the second-floor ceiling after a January thaw. What we found: rusted cap base and cracked crown mortar on a 1960s brick chimney allowing meltwater past the flue. What we did: removed the old cap, repaired the crown, installed a new stainless cap with fresh flashing, and confirmed seal with a hose test. Outcome: no further staining reported after the next snow cycle.
How it works
- 1
Site Assessment
Inspect the existing cap, flashing, crown, and flue condition from the roof and interior.
- 2
Material Selection
Match cap style and gauge to the chimney type and local wind exposure.
- 3
Removal and Preparation
Take off the old cap, clean debris, and repair any crown cracks or flashing gaps.
- 4
Installation and Testing
Secure the new cap, verify spark arrestor fit, and confirm no water entry points remain.
Pricing
Pricing depends on chimney height, access, and whether crown or flashing work is needed; upfront quotes provided on site.