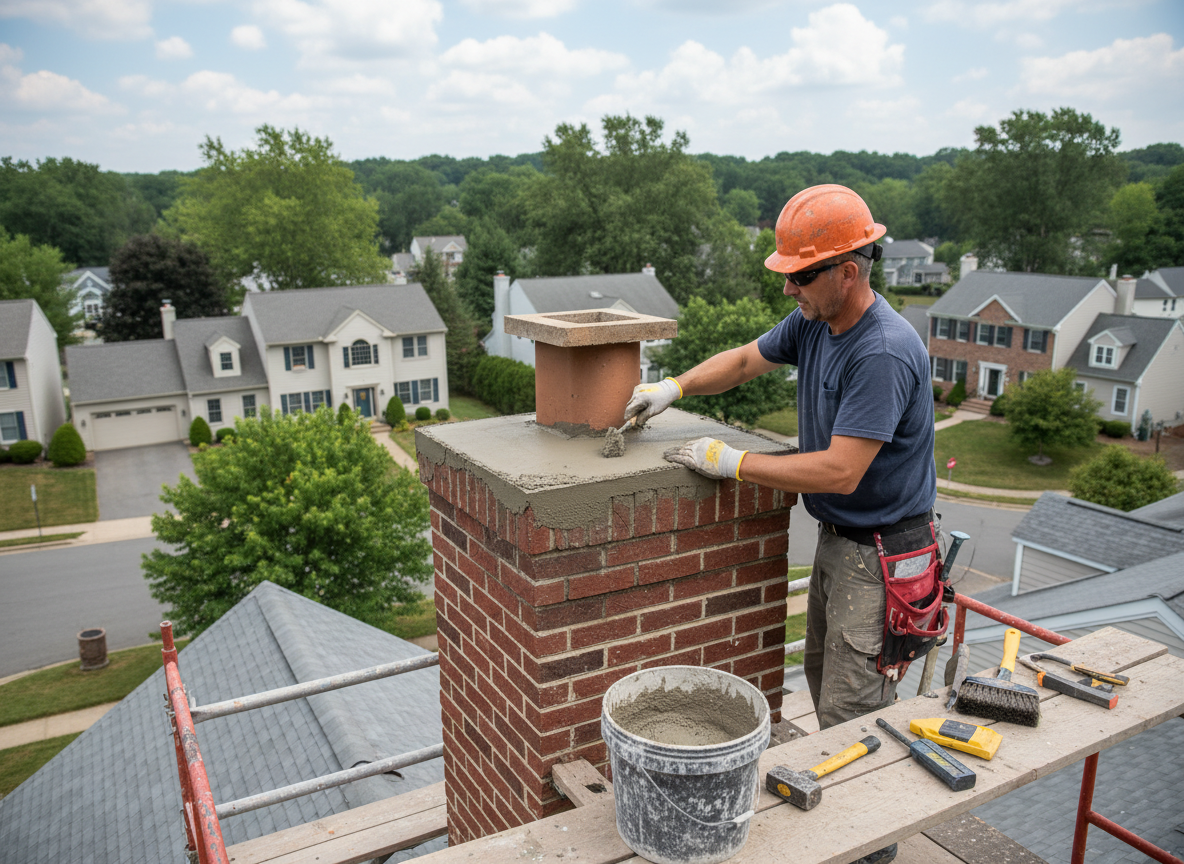
Chimney crowns in Parsippany-Troy Hills homes take constant punishment from New Jersey winters. Freeze-thaw cycles crack the concrete cap that sits atop the flue, letting water run down the flue liner and into the attic or masonry joints. We use a fiber-reinforced, high-temperature mix that expands and contracts with the brick rather than fighting it, and we slope the crown at least two inches per foot so water sheds instead of pooling.
Many 1970s and 1980s split-levels and colonials in the Lake Hiawatha and Mount Tabor sections have original crowns that were poured without proper flashing integration. When the crown separates from the flue tile, water bypasses the cricket and saturates the sheathing. We cut out the failed section, install new step flashing, and repour in one continuous pour so there is no cold joint for water to exploit.
Edge cases we see regularly include crowns poured over terra-cotta flue extensions that have already spalled. In those situations we remove the damaged tile first, sleeve the flue with stainless steel if needed, then form and pour the new crown. This prevents the new concrete from resting on a crumbling base that will crack again within two seasons.
Common Materials and Code Notes
We specify ASTM C270 Type S mortar for any brick repairs tied into the crown and a latex-modified concrete mix rated for 5,000 psi. Morris County inspectors expect the crown to extend at least two inches beyond the chimney walls on all sides; we document this measurement before we leave the job.
Technician insight
In Parsippany-Troy Hills the thing that catches most people out with chimney crown repair is the 1970s and 1980s homes around Lake Parsippany where the original crown was poured tight to the flue tile with no expansion joint. One hard freeze and the whole cap lifts; homeowners think they just need a patch but the real fix is cutting back to sound brick and repouring with a bond breaker around the tile.
Cracked Crown on a Mount Tabor Colonial
Water stains appeared on the second-floor ceiling after a January thaw. We found the crown had separated from the flue and water was running behind the flashing into the attic. We removed the failed concrete, installed new step flashing, and repoured the crown with a latex additive. No further staining occurred the following winter.
How it works
- 1
Initial Inspection
We climb the roof and check crown condition, flashing, and water staining inside the attic.
- 2
Damage Assessment
We photograph cracks, measure slope, and note any flue tile damage before quoting.
- 3
Prep and Form
Old crown material is removed, surfaces are cleaned, and forms are set with correct pitch.
- 4
Pour and Cure
New crown is poured in one lift, tooled, and protected while it cures.
- 5
Final Check
We verify slope, extension beyond walls, and absence of standing water before cleanup.
Pricing
Cost depends on chimney height, extent of flue damage, and whether stainless sleeving is required; we provide an upfront quote after inspection.