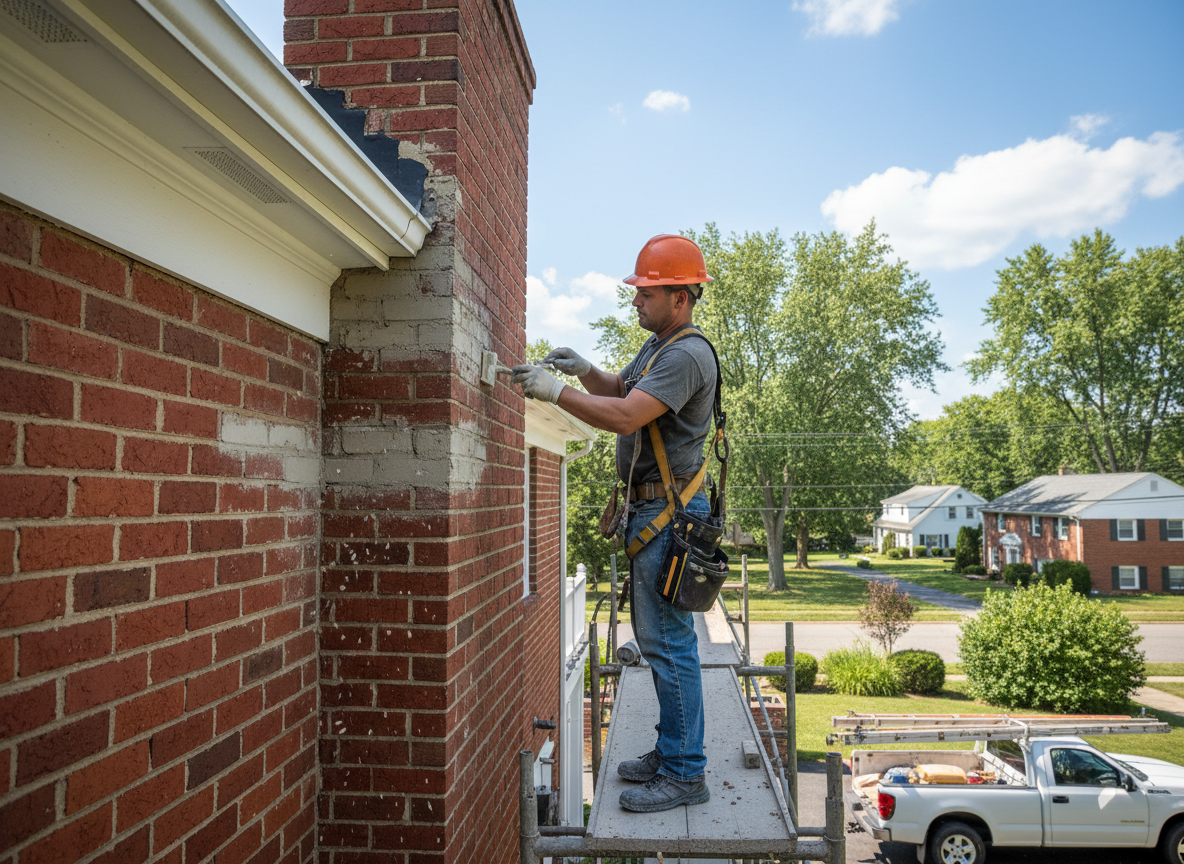
Chimney mortar in Parsippany-Troy Hills homes often fails where repeated freeze-thaw cycles open joints on south-facing stacks. Older brick chimneys built on split-levels and ranches along routes like Route 46 see spalling when water enters hairline cracks and expands. Proper repair uses type N or S mortar matched to existing compressive strength rather than modern high-strength mixes that create new stress points.
Edge cases include chimneys with prior parging that hides ongoing joint deterioration and those near the Whippany River where higher humidity accelerates salt deposition. Technicians check flue tile alignment and crown condition before repointing because water entering from above travels down the flue and exits at the first failed mortar bed. Code requires maintaining the original firebox-to-flue relationship when only mortar work is performed.
Homeowners sometimes confuse mortar repair with full tuckpointing or crown replacement. In reality, isolated joint work can be completed without scaffolding on single-story sections while multi-story stacks in neighborhoods like Lake Hiawatha often need staged access. After repointing, the new mortar must cure under protection from direct winter wind to avoid premature drying and cracking.
Seasonal Considerations
Mortar work in Parsippany-Troy Hills is best scheduled before sustained below-freezing nights begin, typically late fall. Summer repairs require misting to control rapid set in high humidity.
Technician insight
In Parsippany-Troy Hills, the thing that catches most people out with chimney mortar repair is how quickly freeze-thaw cycles open joints on chimneys attached to 1970s split-levels near Waterview Blvd where the stack sits in constant shade from mature trees.
Failed Joints on a Lake Hiawatha Chimney
Homeowner noticed white staining on interior brick after heavy rain. Inspection showed open mortar beds on the west face allowing water to track down the flue. Crew raked and repointed the affected courses, then protected the new mortar during a cold snap. Staining stopped and no further water entered the living space.
How it works
- 1
Site Assessment
Examine all accessible mortar joints, crown, and flashing from ground and roof level to map deteriorated areas.
- 2
Joint Preparation
Rake out failed mortar to sound depth without damaging adjacent brick faces.
- 3
Mortar Mixing and Application
Blend mortar to match existing color and strength, then pack joints in layers with proper tooling.
- 4
Curing and Protection
Cover fresh mortar and monitor moisture levels for several days to prevent shrinkage cracks.
- 5
Final Walkthrough
Verify joint profile, check for water entry points, and document completed sections.
Pricing
Cost depends on chimney height, number of joints, and access difficulty; upfront quotes provided after inspection.