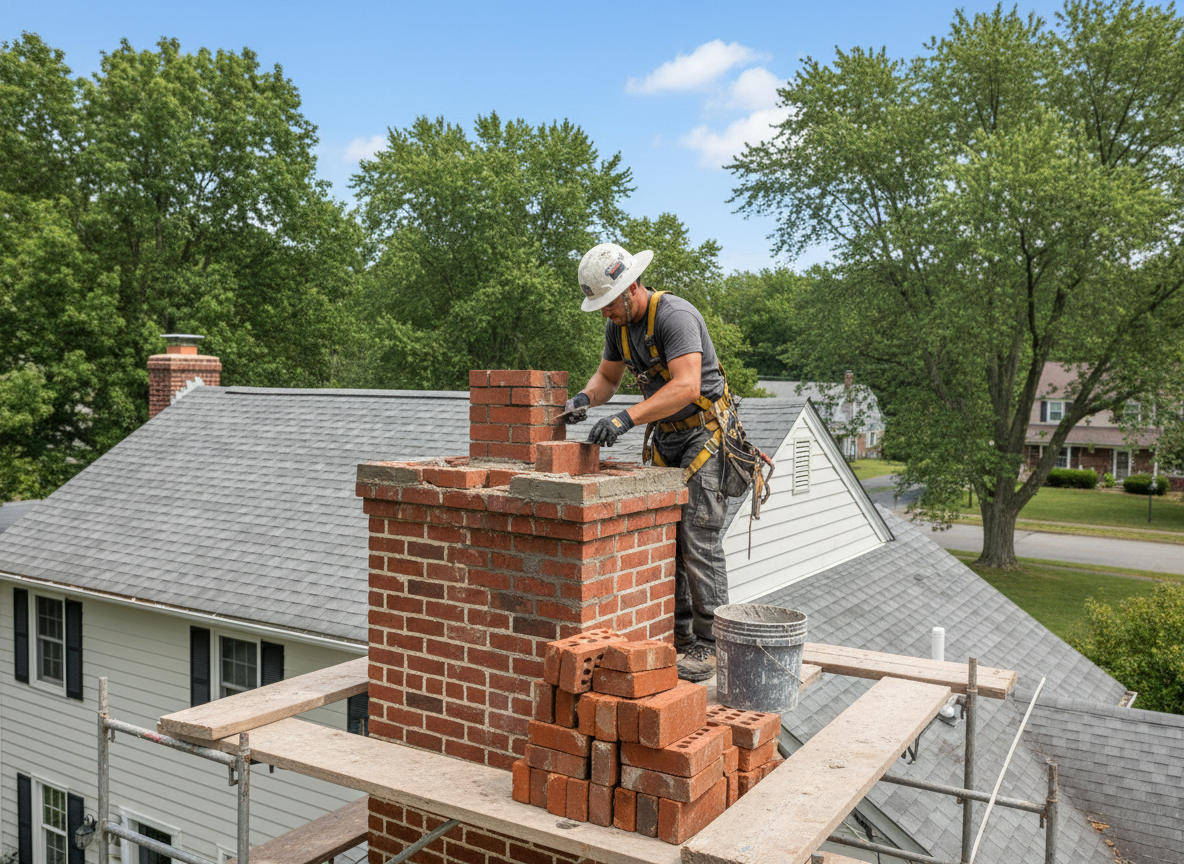
Brick chimneys in Parsippany-Troy Hills homes, many built between the 1950s and 1970s in neighborhoods like Lake Hiawatha and Mount Tabor, face repeated damage from winter freeze-thaw cycles. Water enters hairline cracks in mortar joints, expands when frozen, and loosens bricks over successive seasons. This leads to spalling faces, leaning stacks, and water intrusion into the attic or flue liner.
Repairs often involve selective brick replacement, tuckpointing with type N mortar matched to the original, and installation of a chimney cap or cricket when roof pitch directs runoff toward the stack. Technicians check for missing flue tiles and crown cracks that allow acidic condensate to eat away at interior brick. Work follows Morris County residential building practices to keep the chimney structurally sound without unnecessary full rebuilds.
Common Brick Issues in Local Homes
Homes near Waterview Boulevard and Route 46 frequently show efflorescence and step cracking where the chimney meets the roofline. These patterns trace to the area’s clay-heavy soils that shift slightly with seasonal moisture changes, stressing the base.
Seasonal Timing Considerations
Scheduling tuckpointing or crown repairs in late fall before sustained freezing begins prevents further spalling. Spring inspections after snow melt often reveal the extent of winter damage before it reaches the living space.
Technician insight
In Parsippany-Troy Hills, the thing that catches most people out with brick chimney repair is how quickly freeze-thaw cycles open mortar joints in the 1960s and 1970s brick stacks common in Lake Hiawatha and Mount Tabor neighborhoods; once water reaches the flue, interior damage accelerates fast.
Spalling Brick on Lake Hiawatha Stack
Homeowner noticed loose bricks and white staining after winter. Inspection showed open joints and a cracked crown allowing water into the flue. Crew removed damaged brick, tuckpointed with matching mortar, rebuilt the crown, and resealed flashing. Draft improved and no further water entered the attic.
How it works
- 1
Site Inspection
Examine brick faces, mortar joints, crown, and flashing from roof level and interior access points.
- 2
Damage Mapping
Document loose or spalled bricks, open joints, and water paths to determine scope.
- 3
Mortar and Brick Work
Remove deteriorated material, tuckpoint or replace bricks, and rebuild crown if needed.
- 4
Weatherproofing
Install or reseal flashing and cap to stop future water entry.
- 5
Final Check
Verify stack plumb, clean work area, and confirm draft is unobstructed.
Pricing
Upfront quotes after inspection; cost varies with height, extent of brick replacement, and roof access.